
Related Articles


By Sue Odland
As temperatures begin to rise and the arctic cold becomes a distant memory, our thoughts turn to spending more time outdoors. Why not spend some time this year helping the planet and your health by growing your own organic fruits and vegetables? Many people find that food grown and harvested from their backyard tastes far better and fresher than produce shipped from far-off destinations. Take a break from a tech-saturated life, to sink your hands into the soft, cool soil of Mother Earth.
Here are some simple, proven steps to bring homegrown goodness to your table:
1. Pick your Space
In-ground, raised bed, patio container, or community shared garden? Which fits your lifestyle and living space best? Any of these methods will produce healthy, organic produce for you and your family.
Are there 6-8 hours of sun? With our shorter Midwest growing season, good direct sunlight is a must for encouraging strong plant growth and development.
2. Lay your Foundation
For those choosing raised beds and patio containers, this step is simple. Find a good organic soil mix at your local garden center or nursery, and fill your container of choice.
If you choose the in-ground method, prepare your garden bed by loosening the soil and adding organic material like compost or dried leaves. If you have great soil, you may not need much. For those with clay or thin soils, the addition of organic materials will improve your harvest. Amending your soil with organic matter will provide a strong foundation in which your plants will grow and thrive.
If your chosen space is covered with grass, you’ll need to either dig up the top layer of sod, or try this easy no-dig method whether you have sod or not. First, lay cardboard over the desired area. Then cover the cardboard with several inches of grass clippings, shredded leaves, bark, or weed-free straw. This mulch will keep pesky weeds at bay, and hold precious moisture in the ground, thus reducing the need to water often when your garden is established. In a few weeks’ time, you can cut straight through the cardboard to reveal soil ready for planting. Use a small hand trowel to break through the mulch and cardboard to create designated planting spots. Then add a few scoops of compost into each newly opened spot for your plants or seeds.
Remember – don’t start too early. If the ground is still a bit frozen or wet, you will need to wait. To test if your garden is ready for planting, pick up a handful of soil and squeeze it in your hand. If it crumbles and falls apart easily, it is ready. If it forms a small muddy ball, your soil needs more time to warm up and dry out.
3. Choose your Future
What do you enjoy eating? Do you love salsa? Then consider planting a salsa garden of tomatoes, peppers, cilantro, and onion. Are you a pie fan? Try strawberries, rhubarb, or blueberries. Let your imagination run wild with visions of juicy sliced tomatoes over baby spinach topped with green onions, dainty French dilled green beans, raspberry smothered waffles, or fresh blueberry smoothies. Your yard is an endless supply of gastronomical delights!
Next, do you want to plant seeds or starter plants? For greater success, choose starter plants, especially for warm weather vegetables like tomatoes and peppers. If you would like to grow from seed, try easy-to-grow vegetables including beets, peas, beans, radishes, and onions. Spend some time at your local garden center or nursery to acquaint yourself with perfect plantings for your palate.
A word of caution…start small. Too often new gardeners get swept up with plant fever by planting far more than they will need. If you can’t say no to that beautiful zebra striped tomato plant, or a fifth rainbow pepper mix, remember that you can donate your extra nutritious offerings to your local food pantry or church to help your neighbors in need.
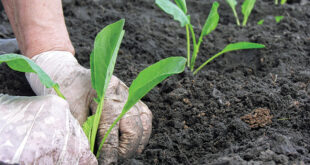
4. The Dig
Place the plants in the soil. Check labels or online for proper planting depth and space. Plants are like humans; some need more space, while others like to be closer together. Before you place the plant into the ground, “tickle” its root system at the bottom of the plant to encourage the roots to stretch out after being so tightly wound in the plastic pot. Kids love this part.
After planting in the ground or container, give each plant a good soak. Do not spray water on the top of the plant, aim towards its base to give the roots a good soak. Check the moisture level of your garden soil every few days.
5. Maintaining the Bounty
There is an old saying that the best fertilizer a gardener can add to their garden is their shadow. Pour yourself a cool drink, and spend time communing with your plants. Pick off bugs at first sight. Stake up fast-growing veggie stalks and vines. Surf the Internet for organic pest control practices that are simple, and keep Mother Earth free of pesticides. Some methods include planting a ring of marigolds around your vegetable garden to discourage insects and conceal the scent of your vegetables from passing animals; or applying a soapy spray of dish soap and water to remove aphids (clusters of white insects) from your tomato plants. There are many easy, inexpensive ways to keep your garden and your yard chemical-free and healthy.
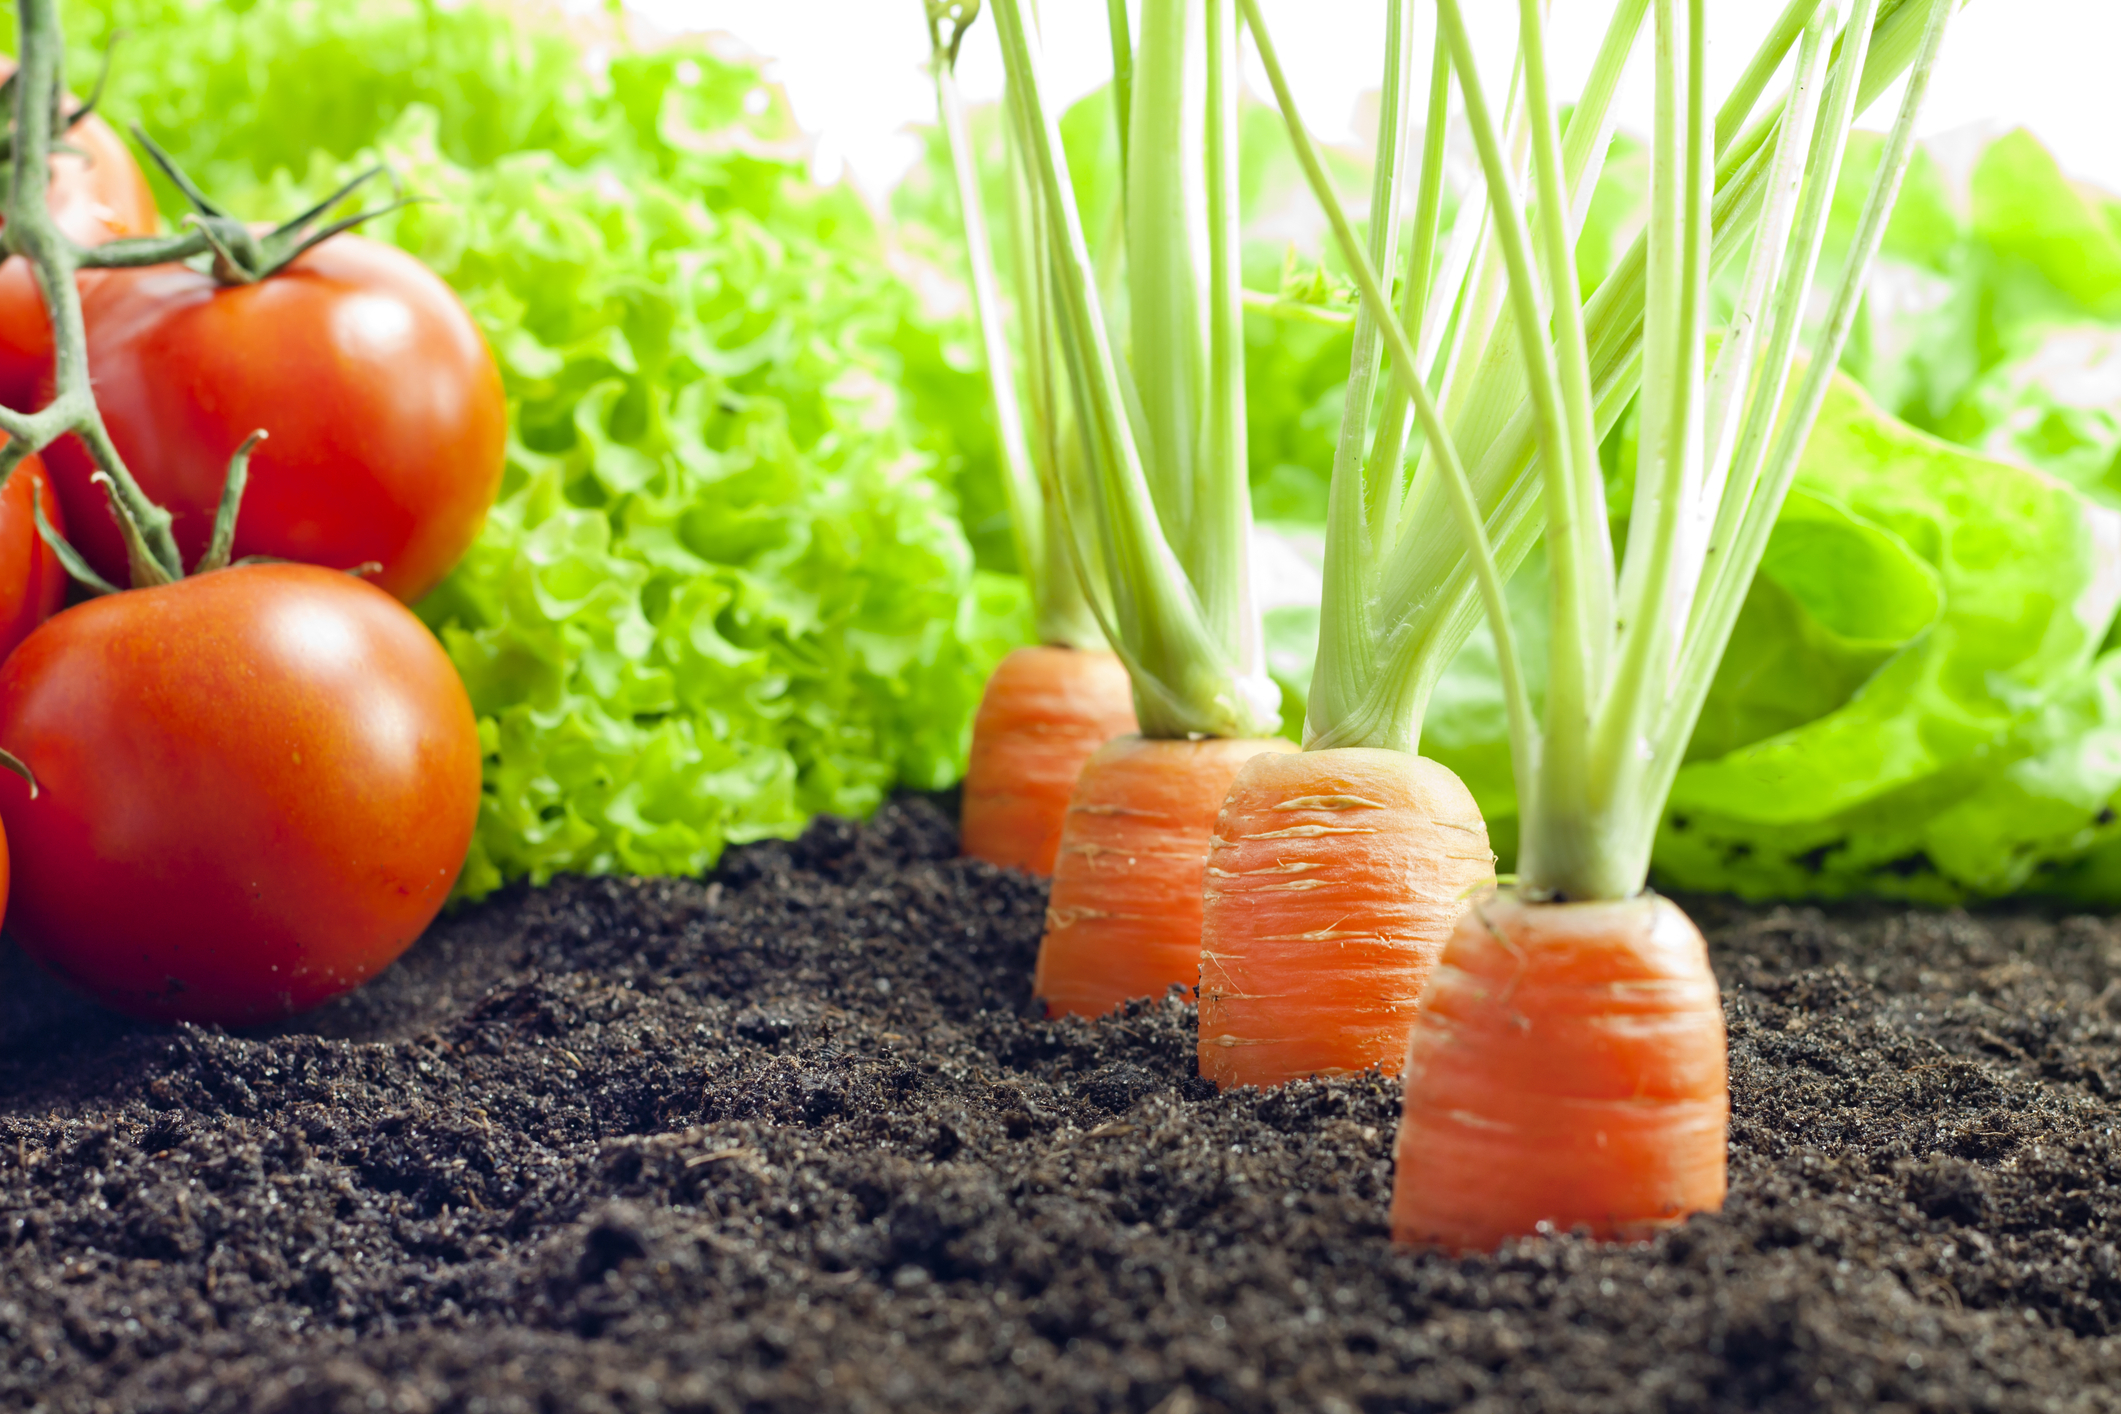
Finally, once the fruits and vegetables are ripe, simply pick, rinse, prepare, and serve. Raising your own fruits and vegetables is very rewarding, enjoyable, and nothing short of miraculous! Plant the seeds for your good health this year, by growing your own organic garden.
Sue Odland is a freelance writer and avid gardener who is looking forward to the first blooms of spring.
Please follow and like us: